How to make your very own beautiful pea-green boat

The Owl and the Pussy-cat

How to Make a Pea-Green Boat

It is National Poetry Day today and we are celebrating with Julia Donaldson’s enchanting story The Further Adventures of The Owl and the Pussy-cat. Revisiting Edward Lear’s favourite rhyme this new story sees the Owl and the Pussy-cat set off on a new adventure in a beautiful blue balloon in search of their stolen ring…

But for National Poetry Day we’ve returned to the original poem and had a go at making our very own pea-green boat for the Owl and Pussy-cat to set sail in. If you want to have a go yourself try following our step by step guide below.
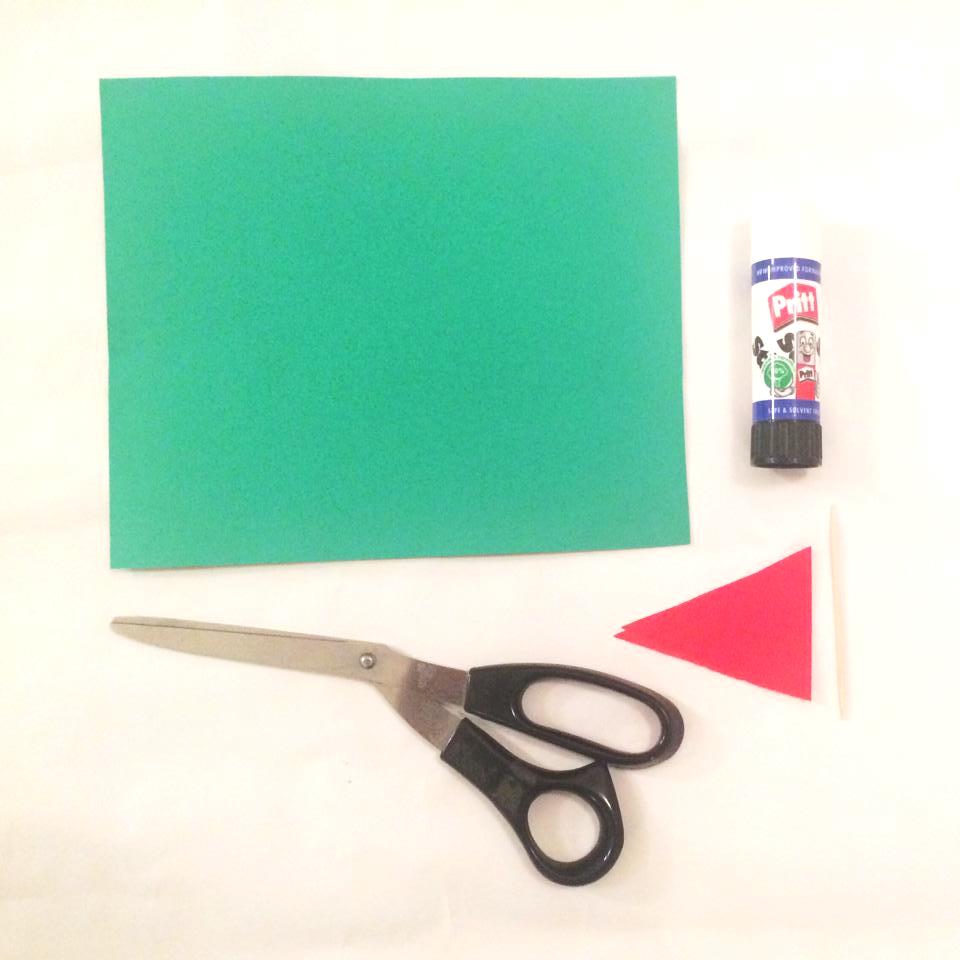
Tool kit
You will need;

One A4 sheet of green card/thick paper;

One pair of scissors;

One pritt stick;

Two pre-made red triangles (cut a small square in half horizontally) and a cocktail stick.


21


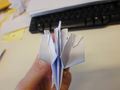
Step 1: Start with your rectangular piece of card/paper and fold it in half.   


33.1

Step 2: Fold in half again and then open leaving you with a crease line in the middle.


.

Step 3: Bring the corners into the centre line. 4


 111


Step 4: Fold the bottom edge upwards- once on the front and do the same
to the back – crease well. (It looks a bit like a little hat!) 5


1111


Step 6: Make the triangle into a diamond– open up the bottom of the triangle6.1
and it will start to fold into a square diamond shape.


Step 7: Fold the front layer up to the top and then do the same at the back. 6

11111


Step 8: Open up the bottom of the triangle again and flatten into a square diamond. 

7


11111


8


Step 9: Gently pull the top parts4444

of the model outwards making a boat shape.


Step 10: Flatten well to crease all the folds and then open out gently4444444

forming a boat shape.


Step 11: Grab your two pieces of red paper and your cocktail stick. Stick together around the stick. Piece the middle of the boat and voilà!


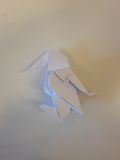
Top tip: Print off and cut round your very own owl and pussy-cat as seen below.

“The Owl and the Pussy-cat went to sea

In a beautiful pea-green boat,

They took some honey, and plenty of money,

Wrapped up in a five-pound note.”


1011love

The Further Adventures of The Owl and the Pussy-cat and a beautiful new picture-book edition of The Owl and the Pussy-cat are out today.

How to make an origami puffin!

You will need: A paper square and colouring pencils/markers or crayons.

How to make an origami puffin, step 11. Fold your square diagonally, then fold in half twice.

How to make an origami puffin 2. Unfold your square and then bring three of the corners together and flatten (It should look like this from the side and like a square from above).


3. Fold the left and right corners inwards, turn over and repeat this on the other side.

SAM_1139

4. Lift up the top layer of paper, pull it backwards and flatten to form a diamond shape. Then turn over and repeat on the other side.

SAM_1140
SAM_1144

5. Fold up the bottom flaps at a slight angle then unfold. Lift the right hand side of the diamond and fold the flap back on itself, along the same lines. Repeat on the left hand side.

SAM_1145
SAM_1146

6. Fold the large triangle flaps downwards so your paper looks like a wolf’s face. Then take the top flap and fold it upwards.

SAM_1149
SAM_1151
SAM_1152

7. Then fold the entire thing in half and turn it 180 degrees. It should now begin to resemble a bird. Pull the wing flap up and outward to separate it from the puffin’s body and flatten.

SAM_1153
SAM_1155

8. Unfold the puffin, then fold the wing back on itself part way up. Further down the wing fold the flap downwards. Take the very bottom of the wing and fold it upwards. Then fold the feet in on themselves.

5c86c-6a00e5501c1be88833017eea44e334970d-120wi
SAM_1157
SAM_1158

SAM_11619. Take the head section of the puffin. Fold it in on itself. Then fold the beak to the right. Fold the point of the beak under and to the right (to make that distinctive stumpy puffin beak)

d4f08-6a00e5501c1be88833017d42d0baa9970c-120wiSAM_1160

10. Lift the puffin up and fold the points of its feet under. Put it down, balancing it on its feet and tail. Your puffin is now complete! Colour it in using black, yellow and orange and give your puffin a name. We haven’t chosen one for our new friend yet – what do you think he should be called?

Origami puffinMaria is our origami ninja and she followed these carefully inked instructions. Yes, we know you’ll need your binoculars to read these but follow the link and you’ll find yourself in a paper aviary of folded fowls! Origami birds

Tweet your pictures to @puffinbooks